
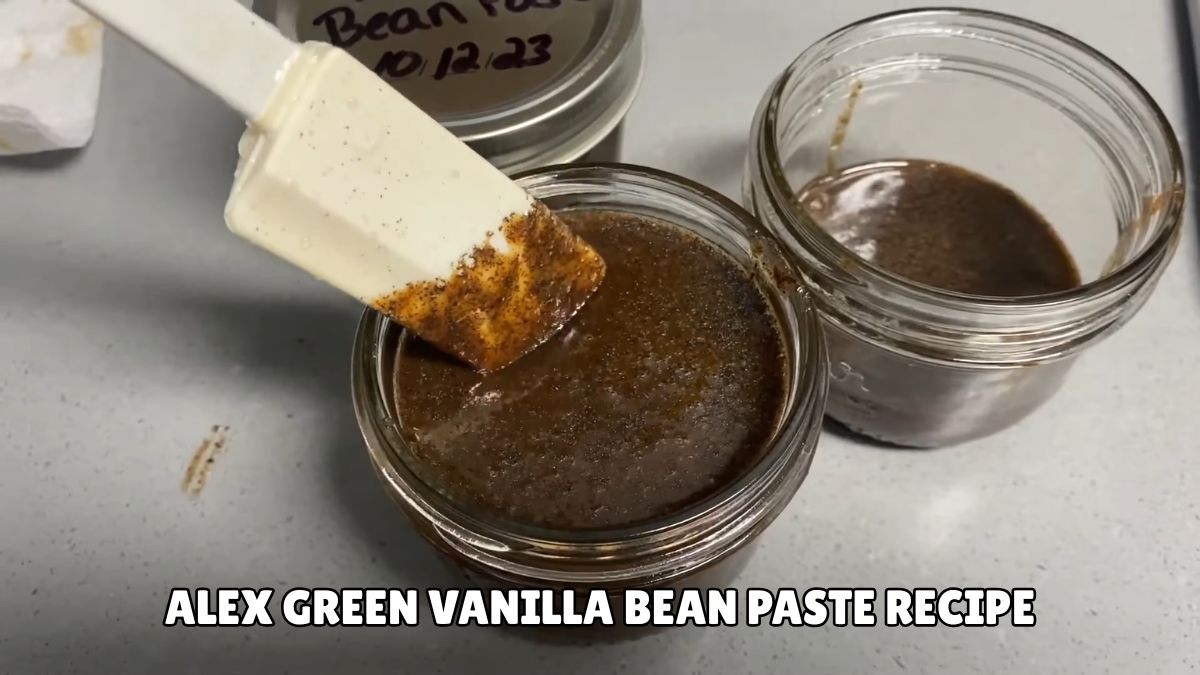
Alex Green Vanilla Bean Paste Recipe
My kitchen counter was covered in empty vanilla bottles one Tuesday last October. The last drop went into a pumpkin pancake for my neighbor’s birthday, and the store had already closed by then. I stood there staring at three empty bottles in a row.
That week I tried my own Alex Green Vanilla Bean Paste Recipe with the blender I’ve had since college. My daughter stood on a stool beside me and asked why the beans looked like tiny sticks. I didn’t have a real answer yet.
Three batches later, I did. This version grew out of that October night and plenty of trial and error at my kitchen table. I kept adjusting the sugar and the soak time until it matched a jar my aunt once gave me.
What Is Alex Green Vanilla Bean Paste?
This Alex Green Vanilla Bean Paste Recipe blends whole pods into a thick, alcohol-free base of sugar and water, made to taste stronger than a bottle of plain extract. It carries visible black flecks through batters and frostings alike.
Plain extract skips the seeds and syrup, so it stays thin and clear with no visible specks. Whole beans need scraping every time you bake, which gets old fast. This version keeps the thickness and flecks blended right into the jar.
Most homemade pastes toss the pod and keep only the seeds. This one blends the whole pod, skin included, into the syrup. That extra pulp gives the paste its body and its slightly grainy bite.
Choosing the Best Vanilla Beans
Madagascar bourbon beans give the classic sweet, creamy flavor most people expect, and that’s what I reach for most often. Tahitian beans lean floral and fruity. Mexican beans bring a spicier, more woodsy note, while Indonesian beans taste smokier and more assertive.
Grade A beans look plump and bend without snapping, and they’re what most stores sell whole for baking. Grade B beans are drier and less pretty, but carry more concentrated flavor per ounce, which matters since this recipe runs on weight, not a bean count.
I weigh mine on a small kitchen scale instead of counting pods, since bean size varies a lot between bags. My go-to source is Slofoodgroup online, though a spice shop in Wichita Falls once had Grade B Madagascar beans that beat anything I’d ordered.
How This Compares to the Original
The version sold in stores leans on corn syrup and a stabilizer for its glossy, spreadable texture. My take on the Alex Green Vanilla Bean Paste Recipe uses a similar ratio of beans to sugar to liquid, but skips one ingredient the original relies on.
Commercial pastes often include xanthan gum to keep seeds suspended and texture even after months on a shelf. I leave it out, so my seeds settle and my texture stays looser, with a shorter shelf life than a store jar.
A small jar at the store runs somewhere around ten dollars for two ounces. My last batch cost about fourteen dollars total and made a full quart, which works out to under three dollars per two-ounce serving.
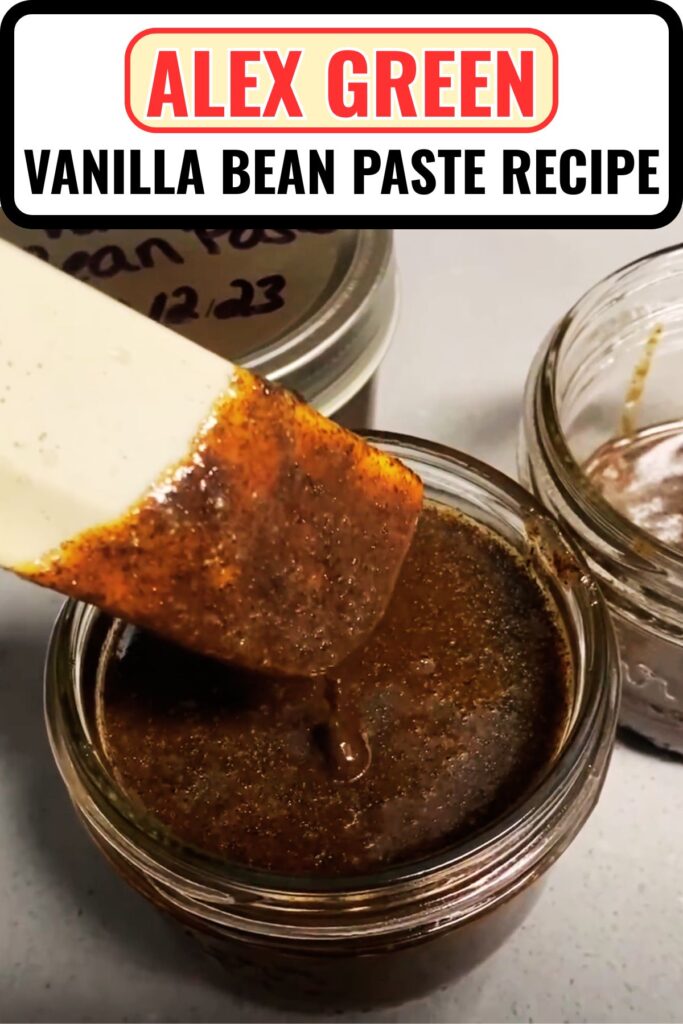
Alex Green Vanilla Bean Paste vs Other Versions
Trader Joe’s paste runs thinner than mine and leans sweeter, with corn syrup listed ahead of vanilla extract on the label. Mine sits thicker, closer to warm honey, because the whole blended pod adds body that a filtered commercial version doesn’t carry.
Nielsen-Massey and Rodelle both cost more per ounce but list real vanilla extract higher on the ingredient list than the grocery store brands do. Their texture runs smoother too, since a factory blender breaks the pod down finer than my Vitamix manages at home.
A store jar makes sense for a single recipe or a gift, when a full quart would sit in the pantry unused for a year. Homemade only pays off once you bake often enough to go through a jar within a couple of months.
Ingredients for Alex Green Vanilla Bean Paste
4 oz whole vanilla beans, Madagascar bourbon, Grade B: These give the paste its color and every fleck you see in the jar, like a store-bought bottle. Pick pods that bend easily instead of snapping.
A brittle pod usually means it dried out weeks before you bought it, and it won’t blend as smoothly, leaving tougher little pieces scattered through the finished jar and stuck near the funnel.
6 oz water: Water thins the sugar enough for the blender to move the pods evenly, instead of catching them near the blades. I use filtered water instead of straight tap, since our well water leaves a faint mineral taste in anything this concentrated.
8 oz granulated sugar: Plain white sugar dissolves fast and keeps the base sweet without adding extra flavor of its own. I reach for C&H, since it dissolves clean in the blender without leaving grit at the bottom of the finished jar.
8 oz dark brown sugar: Brown sugar brings a molasses note that plain sugar can’t, giving the finished paste a deeper, almost caramel color you can see once it settles. I use Domino dark brown sugar here for that depth and richness.
Swap in all granulated sugar in place of the brown, and the paste turns lighter in color with a cleaner, plainer sweetness. It leans more on the vanilla itself, with a milder molasses note left behind.
12 oz water, plus a scant teaspoon apple cider vinegar: The splash of vinegar adds a little brightness to balance the sweetness. I use filtered water and a mild apple cider vinegar like Bragg’s, so the flavor stays balanced instead of sharp.
2 oz light corn syrup: Corn syrup keeps the sugar from turning grainy or crystallizing once the paste cools and sits in the fridge for several weeks. I use Karo light corn syrup, and skip the dark version, since it changes the color too much.
Works well with golden syrup used in place of corn syrup, for a similar texture with a slightly deeper, more caramelized flavor. Maple syrup works in a pinch too, with a slight, noticeable color change.
⅛ tsp xanthan gum, optional: A small pinch keeps the seeds suspended through the paste instead of settling at the bottom of the jar over the following weeks. I use Bob’s Red Mill xanthan gum, measured level, since a heavy hand turns the paste gluey fast.
A scant ¼ tsp fine sea salt: Salt cuts the sweetness just enough that the vanilla flavor comes through clearly instead of tasting flat. I use Diamond Crystal fine sea salt, since it dissolves faster than coarse salt in a cold blender base.
Tools I Recommend for This Recipe
- Digital kitchen scale: for precise, tested measurements
- High-powered blender: breaks down whole pods
- Quart glass jar: for storage and resting
- Rubber spatula: scrapes down the sides
- Small funnel: keeps the jar clean
How to Make Alex Green Vanilla Bean Paste
1. Weigh the beans: I set my Vitamix pitcher right on the digital scale and press tare so it reads zero. Then I weigh 4 ounces of whole vanilla beans directly into the pitcher, since counting pods gives inconsistent results between bags.
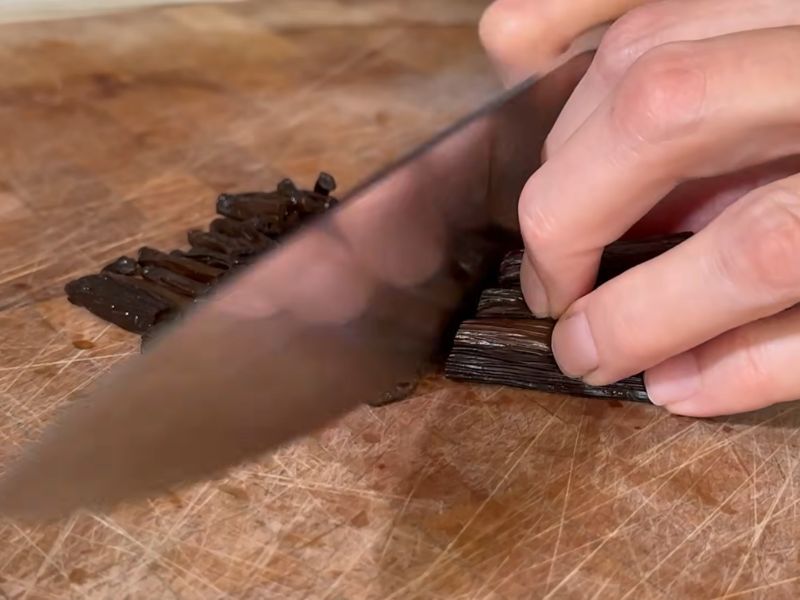
2. Chop the pods: I cut each pod into one-inch pieces with kitchen scissors before blending, which keeps the blender from struggling against a whole six-inch pod. Skipping this step once left me with pod strings wrapped around the blade instead of blended in.
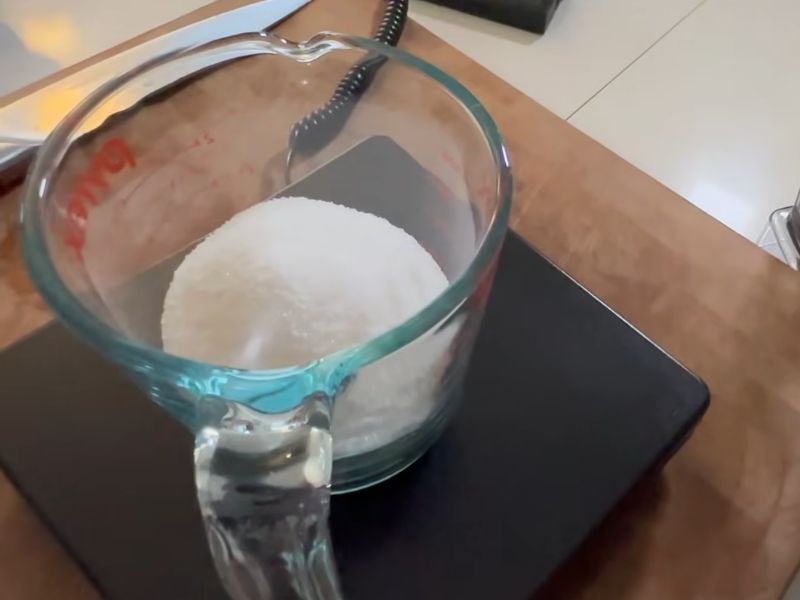
3. Add the liquids and sugars: Into the same pitcher, I add 6 ounces water, 8 ounces granulated sugar, 8 ounces dark brown sugar, 12 ounces water plus the apple cider vinegar, and 2 ounces corn syrup, taring the scale between each one so nothing gets left out.
4. Blend on high: I run the blender on high for 2 full minutes, stopping once to scrape down the sides with a rubber spatula. The pods break down into small flecks, not a smooth puree, and that texture is exactly what you want.
You’ll hear the pitch of the blender drop once the sugar fully dissolves, a lower hum instead of a harsh grinding sound near the top of the jar.
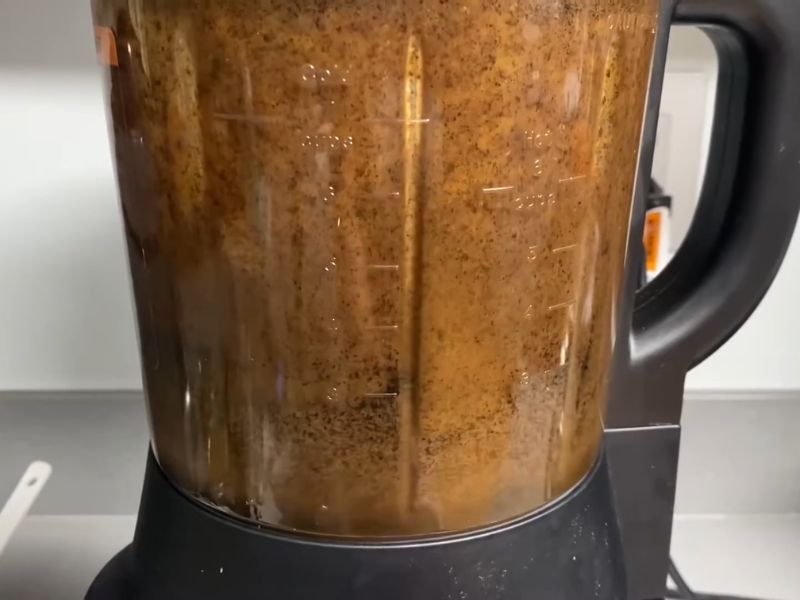
5. Warm the base: My Vitamix has a soup setting that heats the mixture while blending for another 4 minutes, thickening the sugars slightly before the paste hits the jar. A small pot on low heat works the same way, minus the noise.
You’ll notice steam rising and the color turning a shade darker as the sugars fully dissolve into the water.
6. Stir in the salt and gum: I whisk in the sea salt right away, then the xanthan gum once the base has cooled slightly. Adding gum to a hot mixture causes clumps that never fully smooth out later, no matter how long you stir.
7. Pour and seal: I pour the warm paste into a clean quart jar through a small funnel, then seal it and set it in the fridge. It looks thin and watery on day one, and that’s completely normal.
A thin layer of foam often sits on top right after pouring. That’s just trapped air from the blender, and it settles out within a day.
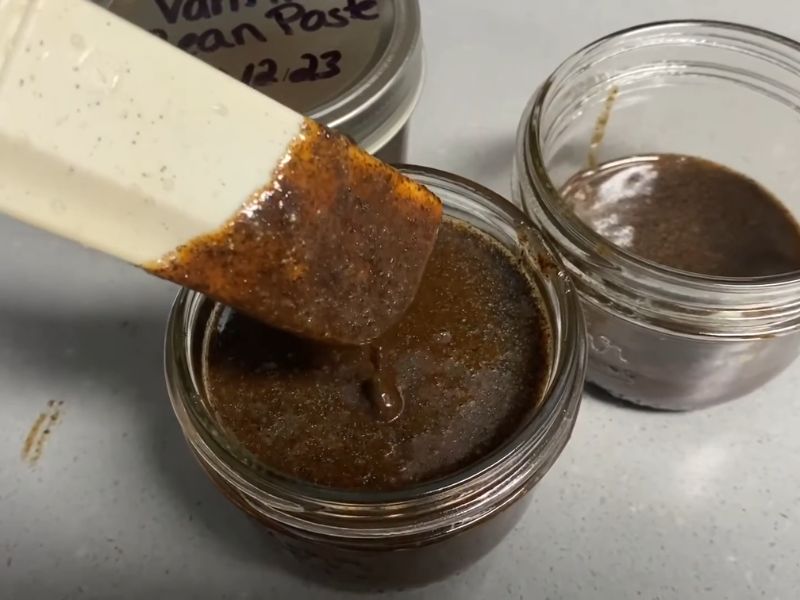
8. Rest before tasting: The paste needs at least one full week in the refrigerator before it thickens and the flavors have a chance to mellow and meld. A month gives a rounder flavor, and that’s the version I actually bake with most often.
Chef’s Notes and Perfection Tips for Alex Green Vanilla Bean Paste
1. Paste too thin: Simmer it uncovered on low for 3 to 4 minutes after blending. The extra evaporation thickens it without any added gum.
2. Paste too thick: Stir in a scant tablespoon of water, one tablespoon at a time, until it loosens back to a pourable consistency.
3. Dark color: A deep amber color after a few months is normal, from the brown sugar aging in the fridge. Mold on top, or a sour smell, means toss it.
4. Seeds settling: Give the jar a firm shake or a quick stir before each use. Without xanthan gum, this is expected, not a flaw.
5. Bitter taste: Cut back to 3 ounces of beans next batch, or switch to a milder Grade A bean instead of Grade B.
6. Pod pieces left whole: Chop the pods smaller before blending, and run the blender a full extra minute past where it seems done.
Delicious Variations on Alex Green Vanilla Paste
Small Batch Version: Cut every ingredient exactly in half, down to a scant 2 ounces of beans, and blend in a regular pitcher instead of a full-size one. This makes about a pint, plenty for a few weeks of weekend baking.
Reduced-Sugar Version: Cut the total sugar down to 10 ounces instead of 16, split between granulated and brown. Expect a thinner paste with a sharper vanilla flavor, best in coffee or a glaze rather than a delicate frosting.
No-Corn-Syrup Version: Replace the corn syrup with an equal amount of honey or golden syrup. The paste turns slightly darker and a touch more floral, good folded into oatmeal or a warm bread pudding.
No-Xanthan-Gum Version: Leave the gum out entirely, the way my first several batches were made. Give the jar a stir before each use, since the seeds settle toward the bottom within a few days.
Blender-Only Easy Version: Skip the stovetop or soup-setting step completely, and blend everything cold for a full 3 minutes instead. The paste takes a little longer to thicken, closer to ten days than a week.
What Dishes to Try With This
A teaspoon stirred into cheesecake batter before baking leaves small dark flecks through every slice, more noticeable than extract alone gives you. The same amount works in a basic pound cake, where the flecks show clearly against the pale crumb.
Pastry cream picks up the flavor fast, since warm milk pulls the vanilla through the whole custard base within a minute of whisking. Ice cream base benefits the same way, stirred in right before it goes into the machine.
Whipped cream turns from plain to distinctly vanilla with just half a teaspoon per cup of cream, whipped in during the last thirty seconds before soft peaks form.
On a slow Sunday, I’ll stir a spoonful into pancake batter, then use a second spoonful in the whipped cream on top, so the same jar carries the whole plate.
Storing, Freezing & Reusing
Since this version has no alcohol to act as a natural preservative, it needs to stay in the refrigerator rather than sitting out on the counter. Stored that way, it keeps for up to 2 months. Use a wide-mouth glass jar with a tight lid, and keep it toward the back of the fridge rather than the door, where the temperature swings less.
Label the jar with the date you made it, so you don’t lose track.
Freezing works too, though the texture turns slightly grainy after thawing. A firm stir or a quick 10-second blitz in the blender smooths it back out. Portion it into small containers first, so you only thaw what one recipe needs.
Mold on the surface, or a sour smell instead of a sweet one, means the batch is done. A darker color alone is not a problem; that’s just age, and it tends to deepen the flavor over time.
Alex Green Vanilla Bean Paste Recipe FAQs
1. Can I use this in place of vanilla extract?
Yes, use it in a 1:1 ratio anywhere a recipe calls for extract, in cakes, cookies, or coffee alike. A teaspoon of paste replaces a teaspoon of extract exactly, with no adjustment needed.
2. Can this replace whole vanilla beans in a recipe?
Use about 1 tablespoon of paste for every whole pod a recipe calls for, scraped or otherwise. You’ll get the same flecks and a comparable amount of flavor in the finished dish.
3. Can I leave out the corn syrup?
Yes, honey or golden syrup works in its place at the same amount by weight. Expect a slightly darker color and a rounder, less neutral sweetness overall in the finished jar.
4. Can I use a food processor instead of a blender?
A food processor works, though it takes longer, closer to 5 minutes, to break the pods down as fine as a high-powered blender manages in 2 minutes flat.
5. Can I use fewer or more vanilla beans than the recipe calls for?
More beans deepen the flavor and darken the color, while fewer give a milder, lighter paste. Keep the water amounts the same either way for the right consistency.
6. What should the finished texture look like?
Thick enough to coat a spoon without running off, somewhere between honey and warm caramel, with dark flecks scattered evenly through every part of the jar.
Alex Green Vanilla Bean Paste Recipe
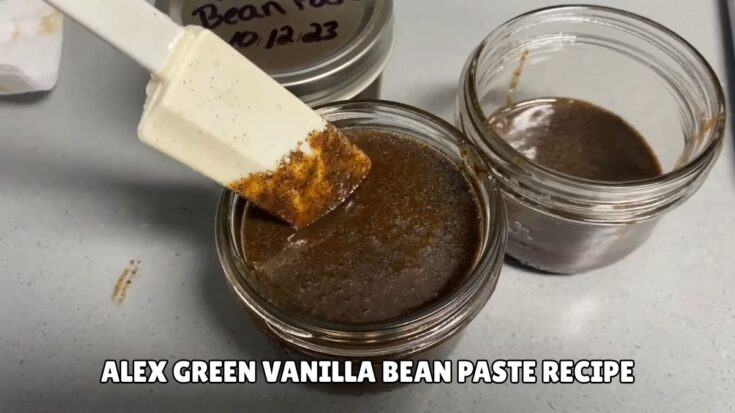
Alex Green Vanilla Bean Paste Recipe with real black flecks and a thick, spoon-coating texture, kid-safe, ready to bake within just 1 week.
Ingredients
- 4 oz whole vanilla beans (Madagascar bourbon, Grade B)
- 6 oz water
- 8 oz granulated sugar
- 8 oz dark brown sugar
- 12 oz water, plus a scant teaspoon apple cider vinegar
- 2 oz light corn syrup
- ⅛ tsp xanthan gum (optional)
- ¼ tsp fine sea salt
Instructions
- I set my Vitamix pitcher right on the digital scale and press tare so it reads zero. Then I weigh 4 ounces of whole vanilla beans directly into the pitcher, since counting pods gives inconsistent results between bags.
- I cut each pod into one-inch pieces with kitchen scissors before blending, which keeps the blender from struggling against a whole six-inch pod. Skipping this step once left me with pod strings wrapped around the blade instead of blended in.
- Into the same pitcher, I add 6 ounces water, 8 ounces granulated sugar, 8 ounces dark brown sugar, 12 ounces water plus the apple cider vinegar, and 2 ounces corn syrup, taring the scale between each one so nothing gets left out.
- I run the blender on high for 2 full minutes, stopping once to scrape down the sides with a rubber spatula. The pods break down into small flecks, not a smooth puree, and that texture is exactly what you want.
- You’ll hear the pitch of the blender drop once the sugar fully dissolves, a lower hum instead of a harsh grinding sound near the top of the jar.
- My Vitamix has a soup setting that heats the mixture while blending for another 4 minutes, thickening the sugars slightly before the paste hits the jar. A small pot on low heat works the same way, minus the noise.
- You’ll notice steam rising and the color turning a shade darker as the sugars fully dissolve into the water.
- I whisk in the sea salt right away, then the xanthan gum once the base has cooled slightly. Adding gum to a hot mixture causes clumps that never fully smooth out later, no matter how long you stir.
- I pour the warm paste into a clean quart jar through a small funnel, then seal it and set it in the fridge. It looks thin and watery on day one, and that’s completely normal.
- A thin layer of foam often sits on top right after pouring. That’s just trapped air from the blender, and it settles out within a day.
- The paste needs at least one full week in the refrigerator before it thickens and the flavors have a chance to mellow and meld. A month gives a rounder flavor, and that’s the version I actually bake with most often.
Nutrition Information:
Yield:
32Serving Size:
1Amount Per Serving: Calories: 10
What sits in that jar after a month in the fridge is a paste that tastes stronger than any bottle of extract I’ve bought at a store, with real black flecks running through every spoonful.
Since you control the sugar and the beans yourself, you can push the sweetness up or down between batches, and adjust the bean amount based on whatever a bag gives you.
One Comment