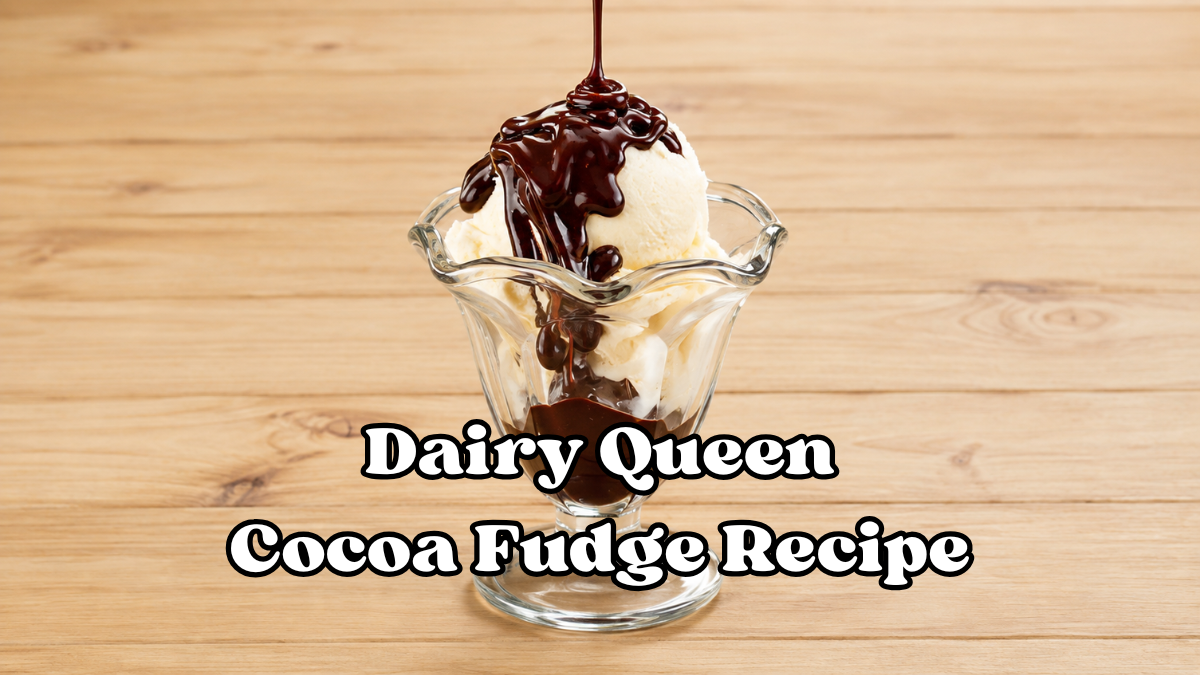
Dairy Queen Cocoa Fudge Recipe
Some desserts are hard to forget, and Dairy Queen’s rich cocoa fudge is one of those treats for me.
Dairy Queen is best known for its soft-serve desserts, Blizzards, sundaes, and frozen treats, but the warm chocolate topping is what can really bring an ice cream dessert together.
I love the way cocoa fudge adds a smooth, rich chocolate taste without taking away from the cold, creamy ice cream underneath. That inspired me to make this copycat Dairy Queen Cocoa Fudge Recipe at home.
It uses simple ingredients and an easy cooking method to create a thick, creamy topping you can spoon over your favorite desserts. Once you try this homemade version, you may want to keep a batch ready in your fridge.
Why Cocoa Fudge Lovers Will Love This Copycat Recipe
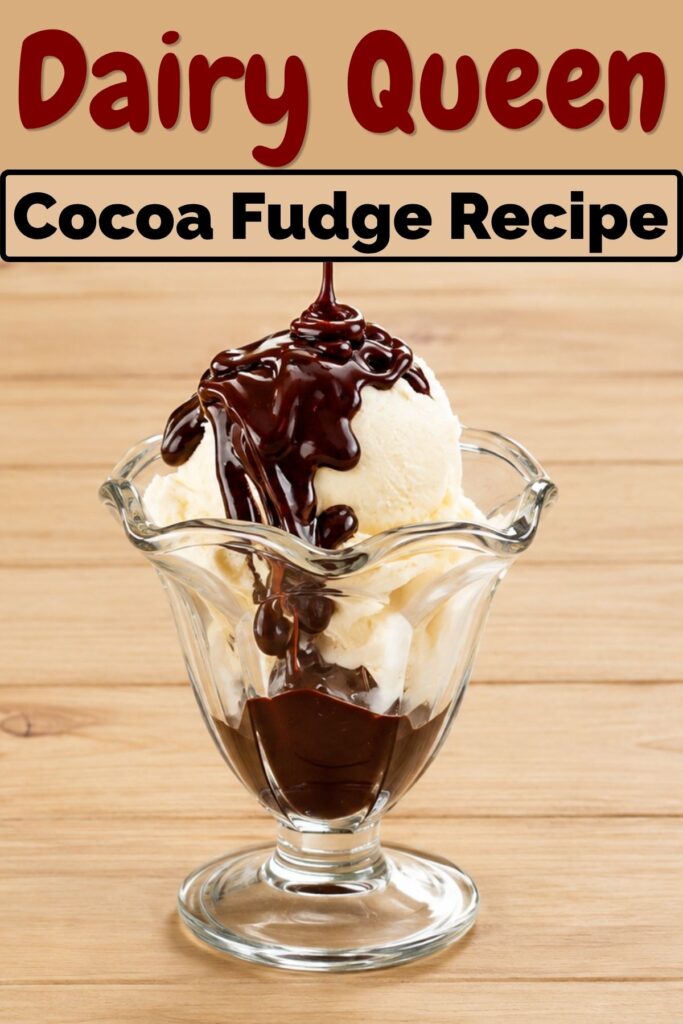
Cocoa fudge lovers will enjoy this copycat recipe because it combines the authentic chocolate taste known from Dairy Queen’s cocoa fudge topping with the simple feel of homemade cooking.
The cocoa gives the sauce a deep chocolate flavor, while the unsweetened chocolate adds a stronger chocolate flavor. Butter then makes the sauce smooth and glossy, so it pours beautifully over cold ice cream.
The vanilla adds a small finishing touch that helps the chocolate flavor come through.
What I like most is that you can make it at home, warm it when needed, and still get that smooth sauce texture without making the process complicated.
Cocoa Fudge vs. Hot Fudge vs. Chocolate Fudge
I used to think these three were almost the same, but the difference becomes clear once you make them at home. The texture, chocolate flavor, and way you serve each one can be quite different.
- Cocoa fudge: Cocoa fudge uses cocoa powder along with melted chocolate, giving it a deep chocolate flavor with a slight bitterness. The combination makes the sauce taste richer than cocoa powder alone.
- Hot fudge: Hot fudge usually uses heavy cream and sometimes corn syrup, which gives it a thicker, smoother, and stickier texture. It is made to stay rich and pourable when served warm over ice cream.
- Chocolate fudge: Chocolate fudge is the firm candy version. It sets as it cools, so you can cut it into squares instead of pouring it over dessert.
For this recipe, the result falls closer to a warm cocoa fudge sauce. It stays pourable when warm, becomes thicker as it cools, and gets extra richness from the unsweetened chocolate and butter.
What Ingredients You’ll Need to Make Dairy Queen Cocoa Fudge
A short ingredient list makes this recipe easy to manage. Each ingredient helps create the sauce’s smooth texture, sweetness, and chocolate flavor.
- Sugar – Use 1 1/4 cups sugar for the sweet base of the sauce. It dissolves into the milk as the mixture warms.
- Milk – Add 2/3 cup milk to create the liquid base and help dissolve the sugar and cocoa. You can use another type of milk, but keep the amount at 2/3 cup to maintain the right consistency.
- Salt – Use 1/4 teaspoon salt to balance the sweetness and deepen the chocolate flavor. You can leave it out when needed, though the finished sauce may taste slightly sweeter.
- Cocoa – Use 1/3 cup unsweetened cocoa powder for the main chocolate flavor. Regular unsweetened cocoa works best, while sweetened cocoa is not recommended because it adds extra sugar.
- Unsweetened Chocolate – Add 3 ounces unsweetened chocolate, broken into pieces. Let it soften in the hot mixture for about 3 minutes before whisking. Sweetened chocolate can be used, but the sugar may need to be reduced.
- Butter – Use 1/2 stick (4 tablespoons) butter, cut into 8 pieces for easier blending. Another cooking fat can be substituted, but it may change the sauce’s texture and flavor.
- Vanilla Extract – Add 1 teaspoon vanilla extract after the butter has fully blended into the sauce. You can leave it out when needed, though the finished fudge may have a less rounded chocolate flavor.
How to Make Dairy Queen Cocoa Fudge (Step-by-Step)
The cooking itself is simple, but the timing matters. I like to have every ingredient measured before turning on the burner so I can focus on the texture as the sauce comes together.
1. Heat the Sugar, Milk, and Salt
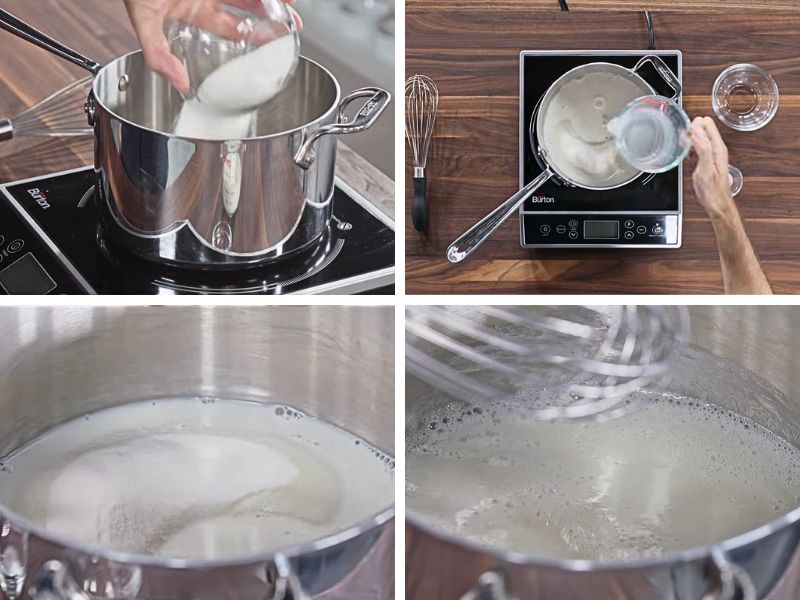
Place 1 1/4 cups sugar, 2/3 cup milk, and 1/4 teaspoon salt in a medium saucepan.
Set the burner to medium-low heat. Whisk the mixture for about 5 to 6 minutes. Keep whisking until the sugar is completely dissolved.
You should start to see small bubbles forming around the edges. Do not rush this part by turning the heat too high. The goal is to warm the mixture steadily while the sugar dissolves.
2. Add the Cocoa and Whisk Until Smooth
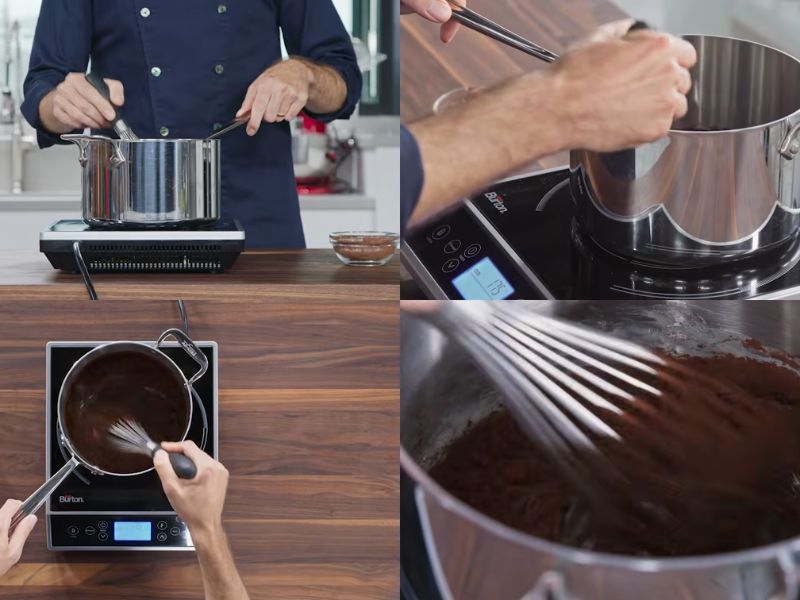
Once you see bubbling around the edges, turn the heat down to low.
Add 1/3 cup cocoa to the saucepan. Whisk it into the warm milk mixture until the cocoa is fully blended and the sauce looks smooth.
Take your time here. Dry cocoa can cling to the surface, so steady whisking helps it mix into the liquid.
3. Add the Unsweetened Chocolate
Remove the saucepan from the burner.
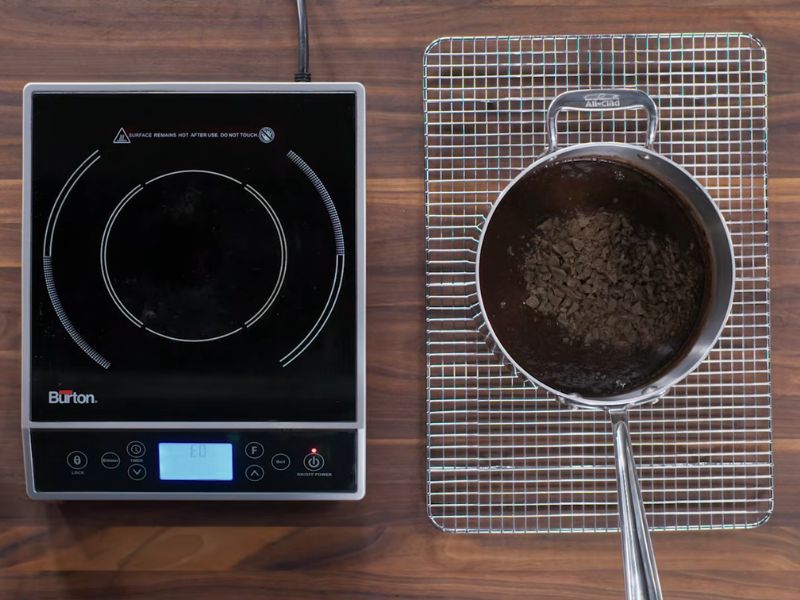
Add 3 ounces unsweetened chocolate to the warm mixture. Once the chocolate is in the pan, leave it alone for about 3 minutes.
That short rest gives the heat from the sauce time to soften the chocolate. You do not need to keep cooking it on the burner.
4. Whisk Until the Chocolate Melts
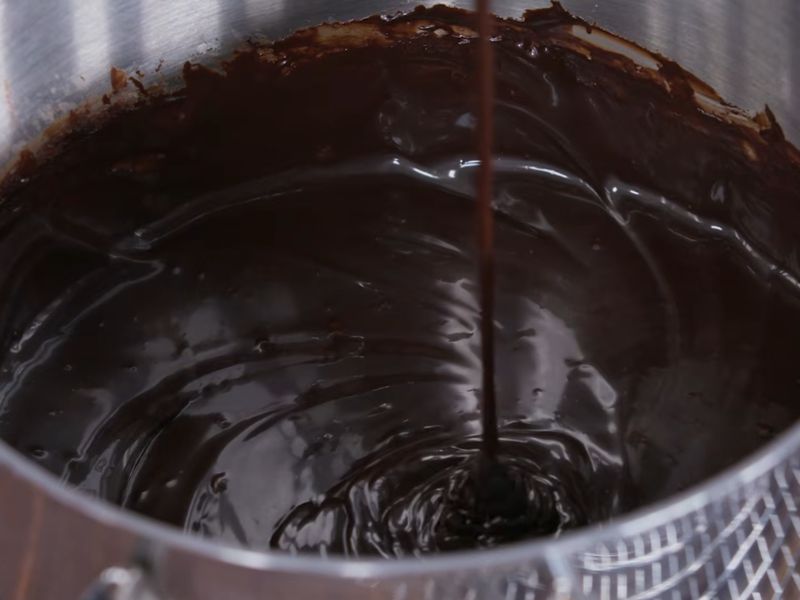
After the 3-minute rest, whisk the mixture until the unsweetened chocolate is fully melted and the sauce looks smooth.
At this point, the chocolate should blend into the cocoa mixture without visible pieces. The sauce will begin to look richer and more uniform.
5. Add the Butter in Small Pieces
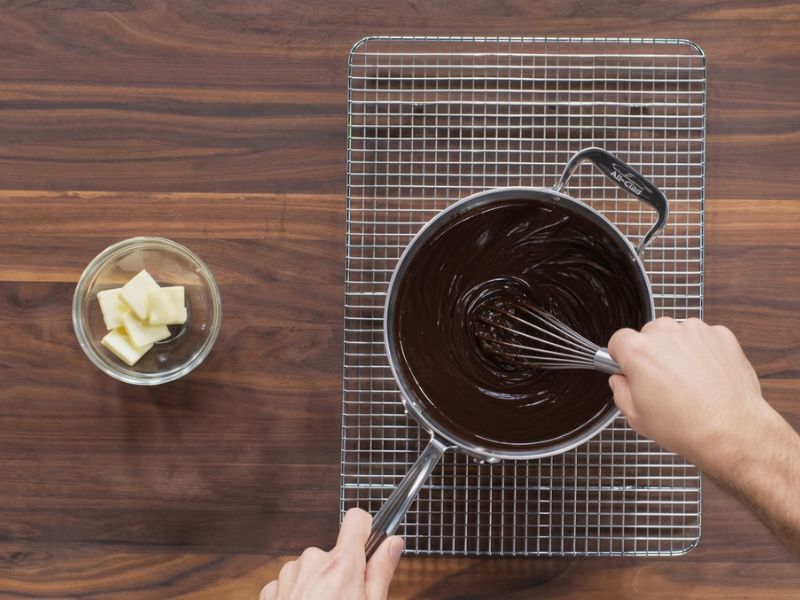
Add the 4 tablespoons butter, which should already be cut into 8 pieces.
Whisk as the butter melts into the warm chocolate mixture. Keep going until all the butter is fully incorporated and the sauce looks thick, smooth, and glossy.
Adding the butter in pieces makes this part easier because the smaller pieces melt and blend into the sauce more evenly.
6. Add Vanilla and Serve the Fudge Sauce
Add 1 teaspoon vanilla extract once the butter has fully blended into the sauce.
Whisk again until the vanilla is evenly mixed. The finished cocoa fudge should look smooth and glossy, with a thick but pourable texture.
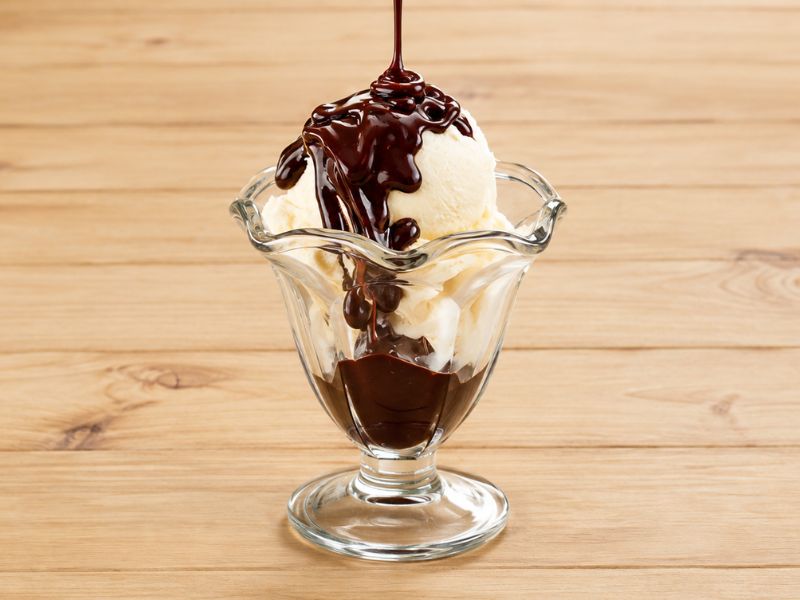
Simple Tips I Follow for Smooth, Creamy Cocoa Fudge
1. Whisk instead of stir – A whisk breaks up lumps faster than a spoon, especially right after the cocoa powder goes in, and it keeps the texture even from edge to edge.
2. Don’t skip the rest time – Letting the chocolate sit off heat for three minutes helps it melt evenly instead of seizing up into a grainy, clumpy mess.
3. Add butter slowly – Dropping in all the butter at once can cause the sauce to look greasy instead of smooth and glossy, so a few pieces at a time works better.
4. Taste before storing – A small pinch more salt can round out the flavor when the sauce tastes a bit too sweet once it cools down.
5. Let it cool slightly before jarring – Pouring hot sauce straight into a cold glass jar can crack the glass, so give it a few minutes on the counter first.
How I Like to Serve Dairy Queen Cocoa Fudge
I usually use this Cocoa Fudge on plain vanilla ice cream, but it works well with many other desserts too, especially once you have a jar ready in the fridge.
- With Chocolate Ice Cream – For a deeper chocolate dessert, spoon the warm fudge over chocolate ice cream. The extra chocolate flavor makes the dessert indulgent without needing many other toppings.
- With a Sundae – Use the fudge as the main sauce for a homemade sundae. Add your usual toppings after the warm chocolate goes on so everything stays easy to layer.
- Over Other Frozen Desserts – You can also use the warm sauce over other frozen desserts you already enjoy. Its smooth texture makes it easy to spoon and spread.
Storing Cocoa Fudge
Refrigerate for Longer Storage. Let the sauce cool completely, then pour it into an airtight container, such as a glass jar with a secure lid. Keeping the container sealed helps prevent air from drying out the surface and forming a thin layer on top.
For extra protection, press a piece of plastic wrap directly onto the sauce before closing the lid. Stored properly in the refrigerator, the sauce can keep for up to 1 month.
How to Reheat the Dairy Queen Cocoa Fudge
The sauce thickens as it gets cold, so a gentle reheat brings it back to a warm, pourable texture. I would rather warm it slowly than use high heat, especially because chocolate can scorch easily.
- Microwave Method – Place the amount you need in a microwave-safe container. Heat it gently, stirring every 10 seconds, until the sauce becomes warm and pourable.
- Stovetop Method – For a larger amount, place the fudge in a small saucepan over low heat. Stir gently as it warms. Remove it from the heat once it becomes smooth and pourable. Whisk or stir the warm sauce until it becomes smooth again. The butter in the recipe helps create a glossy texture, so gentle reheating and stirring can bring back that smooth finish.
- Warm It for Ice Cream – For ice cream, you want the fudge warm and pourable, not extremely hot. Once it flows easily from a spoon, it is ready to pour over your cold ice cream.
Dairy Queen Cocoa Fudge Recipe FAQs
1. My sauce looks dull and not shiny after it cools. What happened?
That usually happens if the butter wasn’t whisked in thoroughly or if the sauce cooled down too quickly. The butter is what gives it that glossy look, so make sure it’s fully emulsified before you take it off the heat. If it’s already cooled and looks dull, try reheating it gently with a tiny splash of milk and whisk it again. The shine should come back once it’s warm and stirred properly.
2. Is this sauce gluten-free?
Yes, it is. None of the ingredients contain gluten — sugar, milk, cocoa powder, unsweetened chocolate, butter, and vanilla extract are all naturally gluten-free. Just double-check your cocoa powder and vanilla brands if you’re strictly gluten-free, because some processed versions can have trace cross-contamination. But generally speaking, this recipe is safe for anyone avoiding gluten.
3. Can I add other flavors like peppermint or cinnamon to this fudge?
Absolutely. I’ve added a pinch of cinnamon before and it gave the sauce a warm, cozy twist that worked great over vanilla ice cream. For peppermint, add a few drops of peppermint extract instead of vanilla, but go easy – it’s strong. Start with ¼ teaspoon and taste from there. You can also try a splash of espresso or instant coffee powder for a mocha vibe. Just stir it in with the cocoa powder.
Dairy Queen Cocoa Fudge Recipe
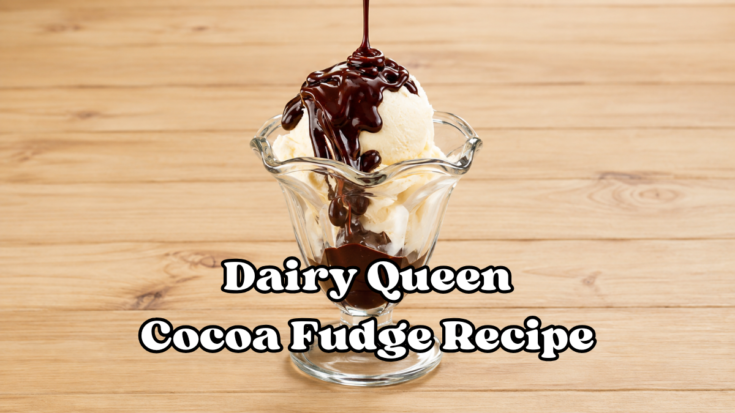
Dairy Queen Cocoa Fudge Recipe ready in 18 minutes! Make a smooth, chocolatey fudge sauce for ice cream with simple pantry ingredients.
Ingredients
- Granulated sugar - 1 1/4 cups
- Milk - 2/3 cup
- Salt - 1/4 teaspoon
- Unsweetened cocoa powder - 1/3 cup
- Unsweetened chocolate - 3 ounces, broken into pieces
- Butter - 1/2 stick (4 tablespoons), cut into 8 pieces
- Vanilla extract - 1 teaspoon
Instructions
- Add 1 1/4 cups sugar, 2/3 cup milk, and 1/4 teaspoon salt to a medium saucepan. Cook over medium-low heat for 5–6 minutes, whisking often until the sugar has dissolved. Small bubbles should begin forming around the edges.
- Reduce the heat to low and add 1/3 cup cocoa. Whisk steadily until the cocoa is fully blended and the mixture looks smooth. Make sure there are no dry cocoa spots remaining.
- Remove the saucepan from the heat. Add 3 ounces unsweetened chocolate and let it sit in the warm mixture for about 3 minutes. This allows the chocolate to soften without needing more heat.
- After 3 minutes, whisk the mixture until the chocolate has completely melted. Continue whisking until the sauce is smooth and evenly combined.
- Add 4 tablespoons butter, cut into 8 pieces. Whisk as the butter melts, continuing until it is fully incorporated. The sauce should become thick, smooth, and glossy.
- Stir in 1 teaspoon vanilla extract and whisk until evenly combined. The finished cocoa fudge should have a smooth, glossy texture that is thick but still easy to pour.
Nutrition Information:
Serving Size:
per 2-tablespoon servingAmount Per Serving: Calories: 131Total Fat: 6.8gSaturated Fat: 4.1gTrans Fat: .1gCholesterol: 10mgSodium: 46mgCarbohydrates: 17.3gFiber: 1.1gSugar: 15.5gProtein: 1.3g